WordPressのウィジェット機能を使うと、サイドバーやフッターに、プロフィールや記事一覧などの便利パーツを設置できます。
多くのテーマには、サイドバーやフッターなどのウィジットエリアが用意されていますが、それ以外にも新たにウィジットエリアを用意したくなるかもしれません。
この記事では、WordPressテーマをカスタマイズして、好みの場所にウィジェットエリアを作成する方法を紹介します。
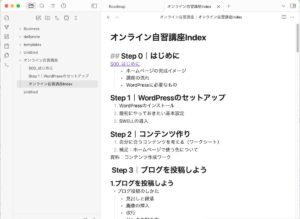
目次
ウィジェットエリアの作り方
functions.phpでウィジットエリアを登録する
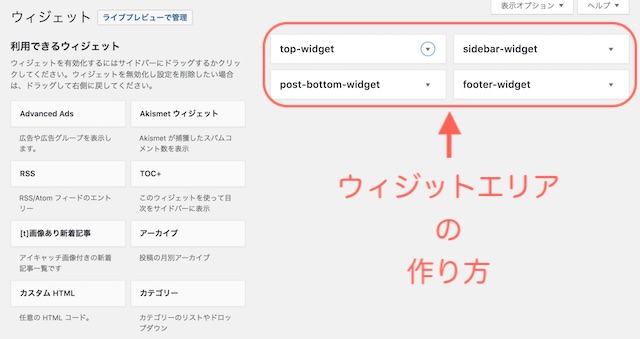
register_sidebar()関数でウィジェットエリアを登録します。
function my_theme_widgets_init(){
  register_sidebar( array(
      'name' => 'サイドバー',
      'id' => 'sidebar-widget',
      'description' => 'サイドバーに表示するウィジット',
      'before_widget' => '<section id="%1$s" class="widget %2$s">',
      'after_widget' => '</section>',
      'before_title' => '<h2 class="widget-title">',
      'after_title' => '</h2>',
  ));
  register_sidebar( array(
      'name' => 'フッター',
      'id' => 'footer-widget',
      'description' => 'フッターに表示するウィジット',
      'before_widget' => '<section id="%1$s" class="widget %2$s">',
      'after_widget' => '</section>',
      'before_title' => '<h2 class="widget-title">',
      'after_title' => '</h2>',
  ));
}
add_action('widgets_init','my_theme_widgets_init');
register_sidebar( $args );register_sidebarのパラメーターは表の通りです。
| 名前 | 説明 | 初期値 |
|---|---|---|
| name | 管理画面で表示される名前 | |
| id | ウィジェットID(半角英数字)。重複不可 | sidebar-1 数字の部分は連番 |
| description | 管理画面に表示する名前 | |
| class | 管理画面でのスタイルシート用のクラス | |
| before_widget | ウィジェット前につく文字列 | <li id=”%1$s” class=”widget %2$s”> (%1$s はウィジェットの名前+番号、%2$s は widget_ウィジェットの名前) |
| after_widget | ウィジェット後につく文字列 | </li>\n |
| before_title | ウィジェットタイトルの前につく文字列 | <h2 class=”widgettitle”> |
| after_title | ウィジェットタイトルの後につく文字列 | </h2>\n |
<section id="sidebar-1" class="widget widget_sidebar"> // before_widget
    <h2 class="widget-title">  // before_title
    ウィジェットのタイトル
    </h2> // after_title
    ウィジェットの内容
</section> // after_widget
テンプレートファイルでウィジットエリアを表示する
ウィジットを表示させたい場所(テンプレートファイル)に以下のように記述をします。
<?php if (is_active_sidebar('sidebar-1')) { ?>
    <div class="widget-area">
        <?php dynamic_sidebar('sidebar-1'); ?>
    </div>
<?php } ?>
is_active_sidebar('ウィジットエリアID')
ウィジェットエリアにウィジェットが1個以上登録されているかチェックするdynamic_sidebar('ウィジットエリアID')
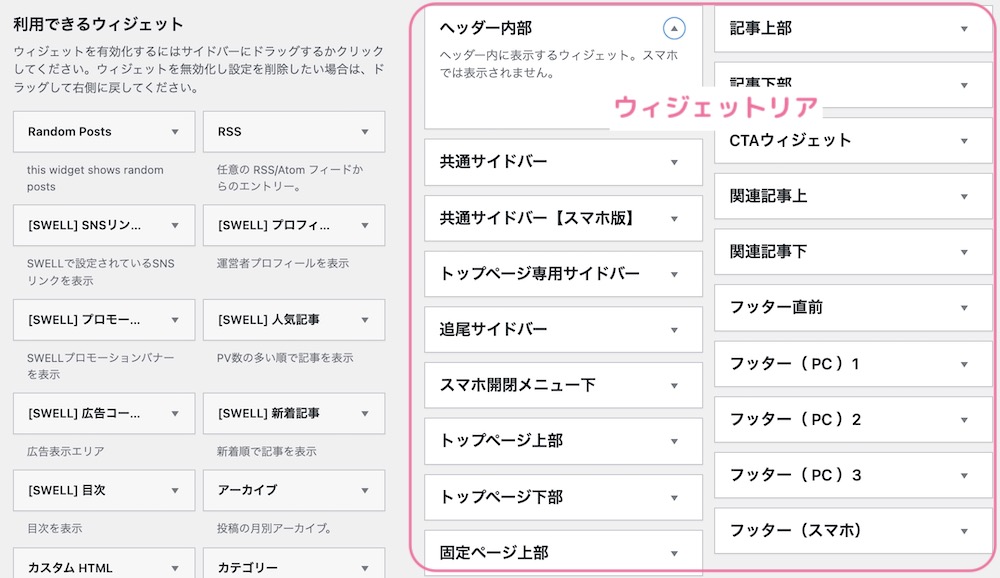
ウィジェットエリアが登録されている場合にウィジェットを表示するこれで、管理画面の外観>ウィジェットからウィジェットを登録できるようになります。

参考図書
WordPressをカスタマイズするためのコードを網羅的に解説してくれています。
条件によって、表示するウィジェットを切り替える
WordPressには条件分岐タグが用意されています。
条件分岐タグを使って、ページによってウィジットを表示/非表示を分けることができます。
- is_front_page() : ホームページかどうか
- is_single():投稿ページかどうか
- is_single():固定ページかどうか
- wp_is_mobile():モバイルデバイスかどうか
例:トップページにのみ、ウィジットエリアを表示させたい時は、is_fornt_pageをif条件に追加します。
<?php if (is_front_page() && is_active_sidebar('sidebar-widget')) { ?>
    <div class="widget-area">
        <?php dynamic_sidebar('sidebar-widget'); ?>
    </div>
<?php } ?>
例:スマホの時は表示しない場合は!wp_is_mobile()をif条件に追記します。
<?php if (!wp_is_mobile() && is_active_sidebar('sidebar-widget')) { ?>
    <div class="widget-area">
        <?php dynamic_sidebar('sidebar-widget'); ?>
    </div>
<?php } ?>
ウィジットエリアを使うと、ブログのカスタマイズの幅がどんと広がりますね。
ウィジェットエリアの追加方法
- functions.phpでウィジェットエリアを登録する
- テンプレートファイルに表示箇所(サイドバーやフッターなど)に表示用のコードを書く
- 管理画面から、ウィジットを設置する